If you think that something which is used to make water clean and fresh cannot get dirty. You may be wrong. Water pitcher can also get dirty because of its daily use. I have added the details about how to clean brita water pitcher in this article. It’s a fact that everyone needs fresh and healthy water to drink. Brita water pitcher is a product that makes it easy for the people to use fresh water anytime. As compared to the standard Brita water filter, the Longlast filters have a lifespan of 120 gallons.

Method of Cleaning Brita Water Pitcher
The method of cleaning this specific product is really easy. You can clean it by following some simple steps. Here is the step by step guide. Before going further for the method. Lets know about things you will need to clean the brita water pitcher filter.
Required Things to Clean Water Pitcher
Dishwasher soap
Sponge
Hot water
Kitchen towel or drying cloth
1. Dissemble the Water Filter Pitcher
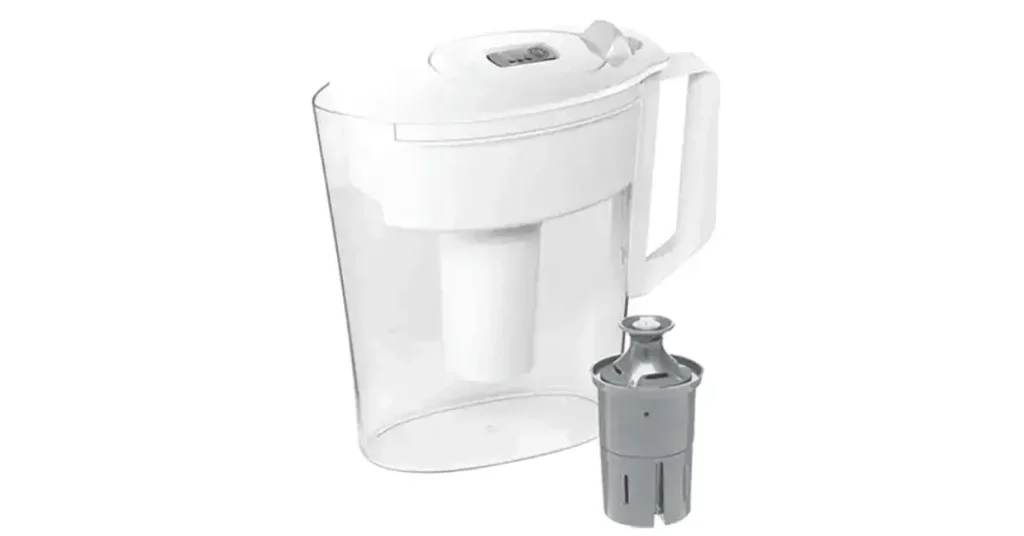
The very first step to clean a brita water pitcher filter is to dissemble it. Make all the parts separate from each other. If you think that filter in the pitcher is dirty enough then change the filter with the old one and keep it aside. Make it sure that you are not damaging anything.

2. Clean the Lid by Washing It
Right after assembling your first priority must be washing the lid with warm water. Here one thing that is needed to consider is that, if you are using a water pitcher that has an electric lid just do not wash it. You can clean it with a kitchen towel or any other clean cloth. On the contrary, when you are using a simple lid just wash it.
3. Reservoir Washing
The reservoir needs to be cleaned now with a sponge and clean water. The reservoir is crammed with nooks and crannies, so be sure to get inside all of them. Wipe them with a damp rag or sponge. After cleaning, rinse the reservoir thoroughly and let it dry.

4. Pitcher Washing
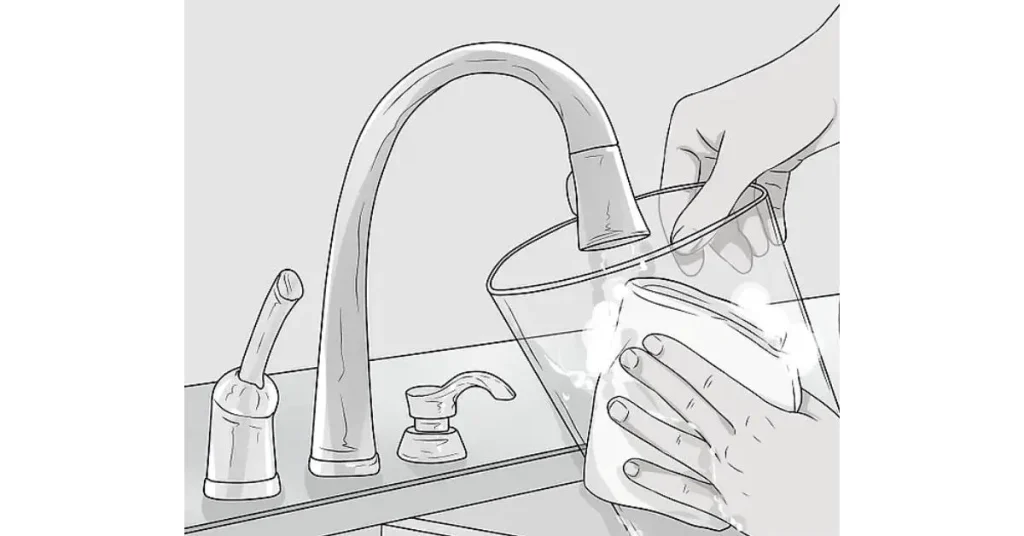
Finally, it’s time to wash the pitcher. Be careful while washing the pitcher from inside. Wash it with a soft sponge and dishwasher soap. Do not forget to scrub the bottom part of the pitcher from inside. Rinse it with warm water just to make sure it’s clean properly.

5. Dry the Parts
After washing all of the parts of the water pitcher, it is also important to clean them with a dry cloth. You must dry them one by one. Do not get in a hurry while cleaning your water pitcher but do the task carefully.

6. Reassemble the Parts
You can now reassemble the pieces and discard the first three or four pitchers of water following the instructions for your pitcher until there is no longer any carbon dust in the water.

Why Clean a Brita Water Pitcher?
You need to clean your brita water pitcher on and off. You may not find any dirt on the pitcher at first but you will find some signs of dirtiness soon. You are looking for a method of cleaning. It means you are already having a brita pitcher in your hands.
FAQs
Q. Can We Wash Brita Water Pitchers on a Daily Basis?
There is no need for a water pitcher to be washed on a daily basis. You can wash it after 15 or 30 days.
Q. Which Type of Soap Is Best for Washing Water Pitchers?
Try to use mild and non-absorbent dishwasher soap to wash brita water pitcher.
Q. Is There a Recommended Length of Time to Keep a Plastic Pitcher Before Buying a New One?
Despite being BPA-free, the plastic will still age. After five and ten years, what about? It’s been a long time since I used plastic.
Conclusion
Many people are having brita water pitchers. It’s obvious that everyone wants clean and pure water. For getting healthy water people buy filters, install complete filtration systems at home and some rely on water picture filters. Whenever you think you can wash and clean your water pitcher. The complete method of cleaning brita water pitcher is given in this article. You should read it before starting to wash your water filter.
Table of Contents


